
How to Make (almost) Anything
Duplication of my final post for HTMAA. Grand overview of my final project and a few greatest hits.
Teaser!
Quick preview of my final project, but first some “greatest hits”. I put most of this work in the content repo, the pictures link to the respective project pages.
FabISPkey

FabISP remixed.
I remixed the FabISP to a FabISPkey, doing away with the USB connector, and shrinking the layout a little. I also updated the design with a level shifter for low voltage targets – click the picture for more details!
Anduino

Anduino, shield compatible Arduino clone.
I put together a single sided, shield compatible Arduino clone, the Anduino. It’s been through quite a few revisions by now, and it now boasts, options for using different crystals and regulators, easier to solder headers and LEDs!
Eagle Makefiles

Eagle Makefile
To quickturn PCBs as I’ve been doing all semester, I’ve developed some tools. I don’t think they’ve been adopted by anyone in the class, but I’ve relied heavily on them and would love to see wider use.
Things that Fly!
Initial sketches.
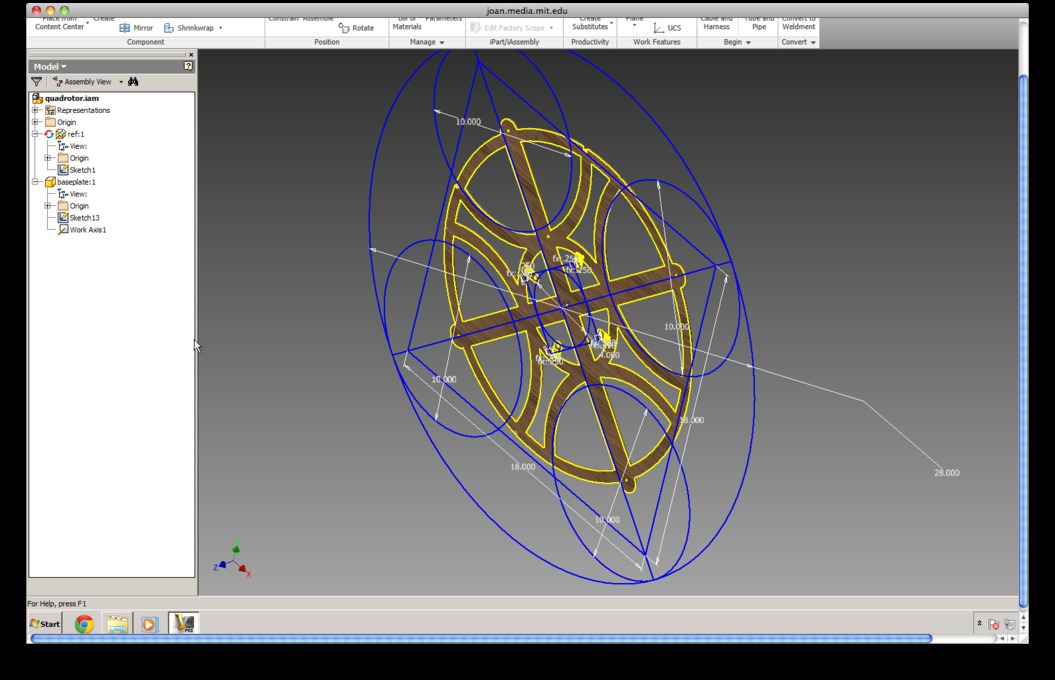
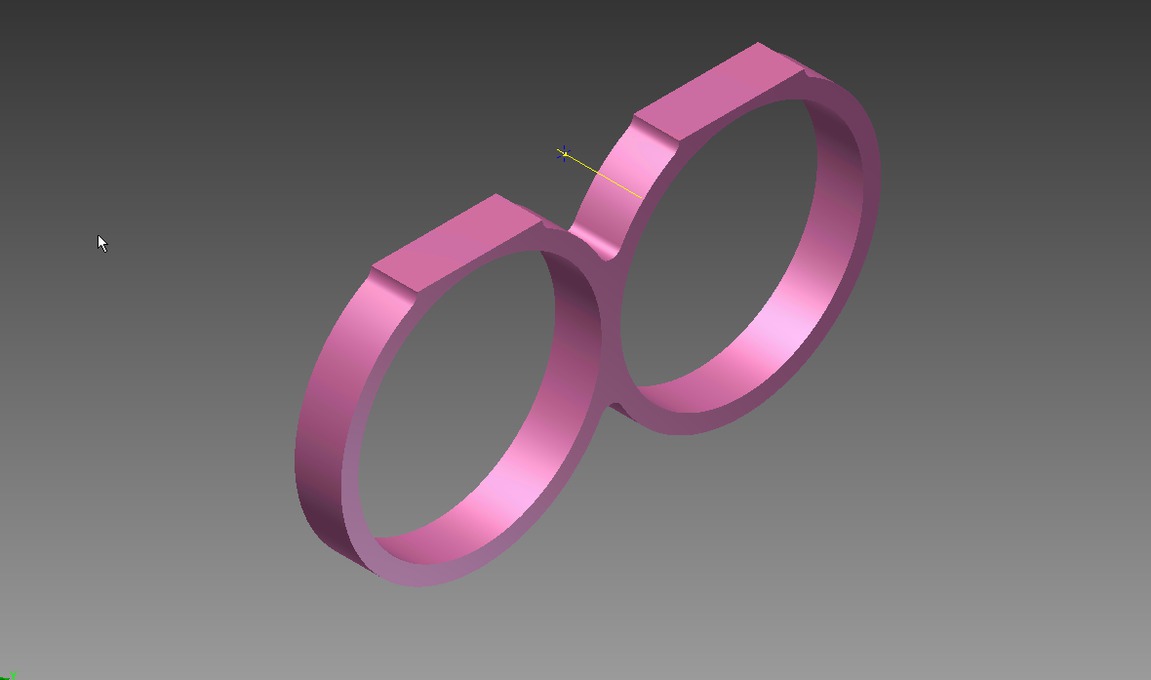
It all starts with a sketch of key dimensions (in Autodesk Inventor).
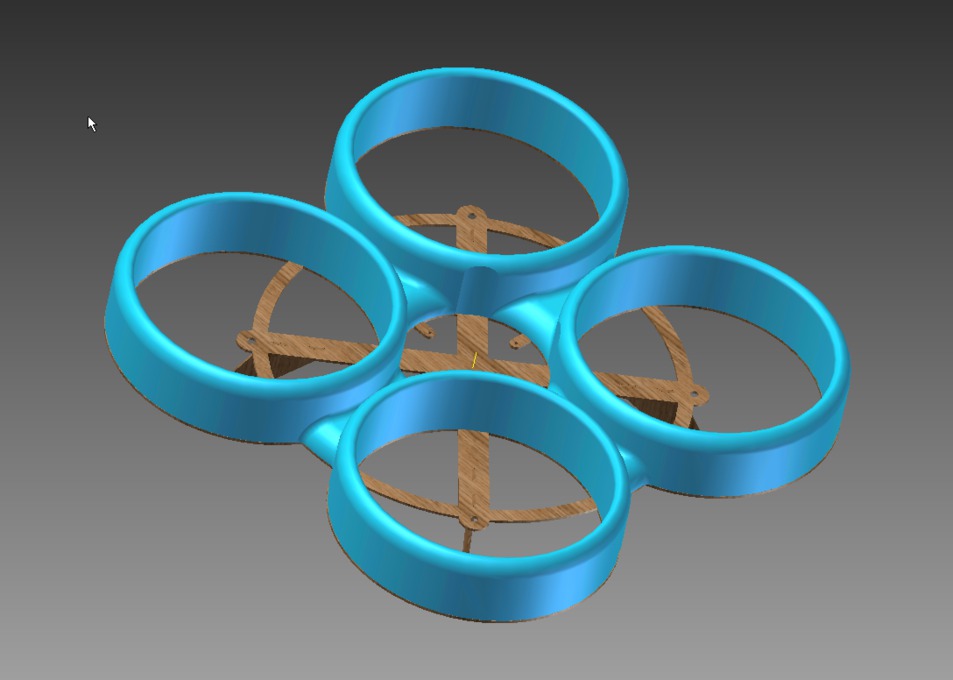
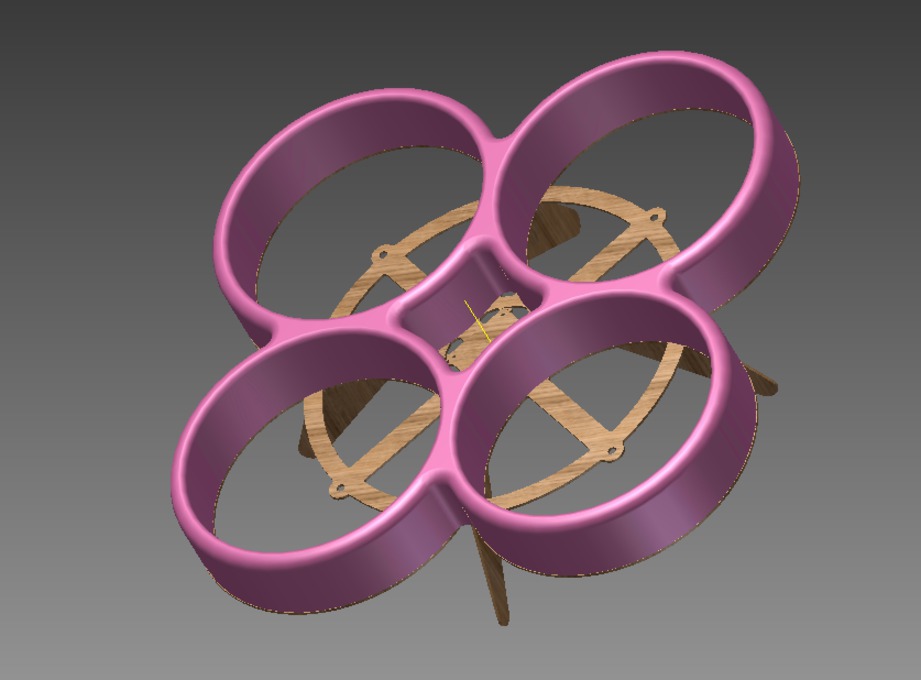
Model with the trimmings
The fleshed out cad model as of 12/12/11. Note the nice aerodynamic shrouds. I even modeled the standoffs and screws! Pretty accurate weight and CG estimate in this model, problem was, I had no idea what kind of thrust to expect… (more later)
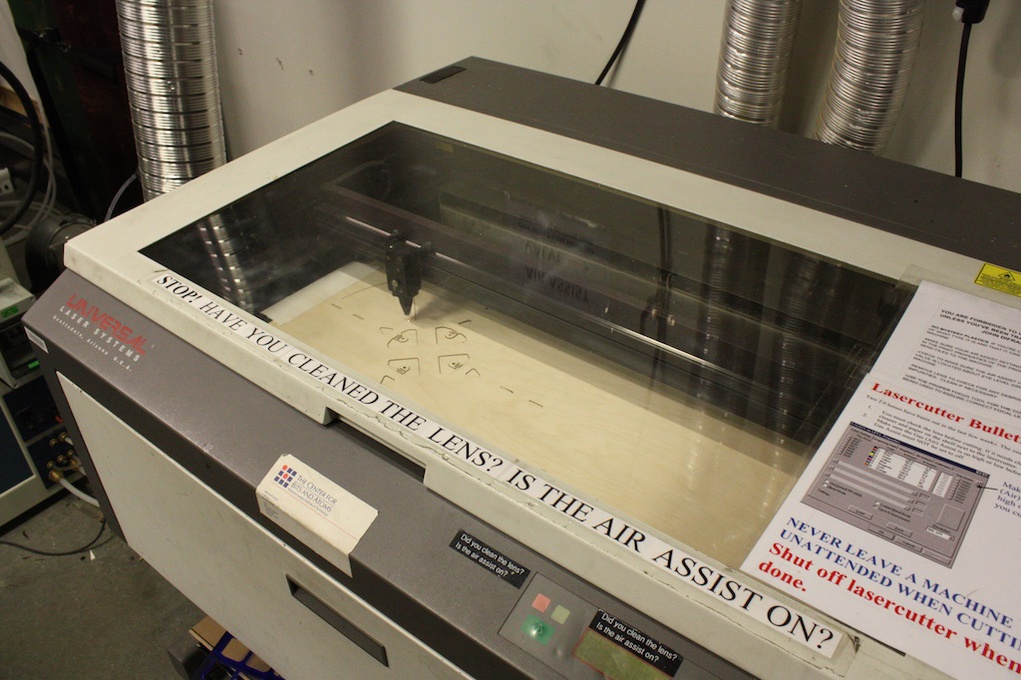
So let’s start making!
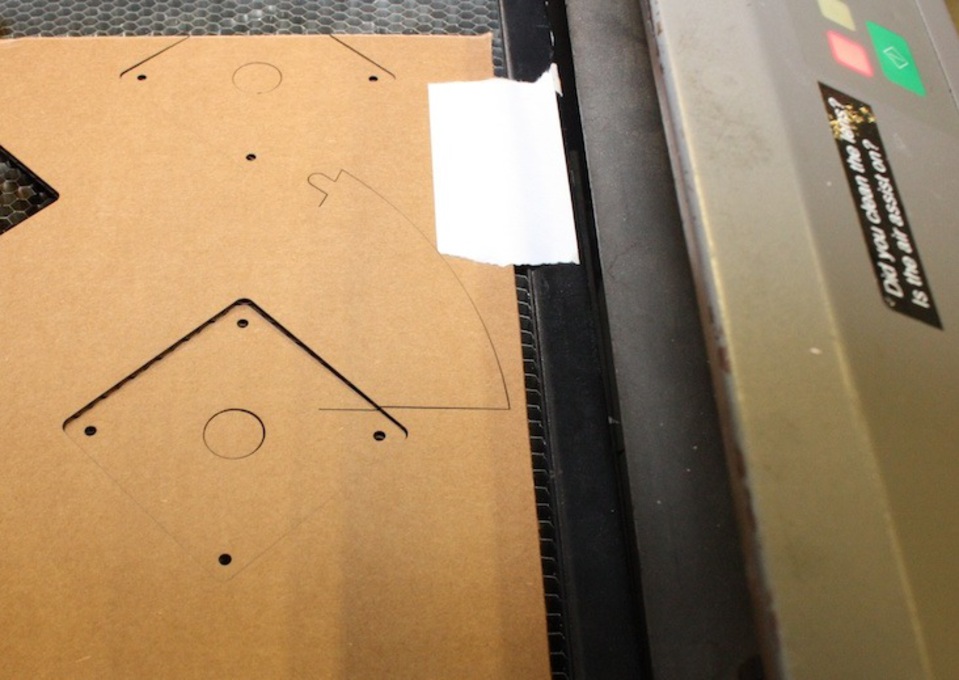
What happens when the lasercutter tries to cut outside its bounds.
So it turns out that when the lasercutter tries to cut outside its limits, it flakes out and CUTS THE PART IN HALF. Back to the drawing board modeling tools.
Less sexy, but more buildable model.
To make it fabricatable, I had to dial back the sexyness – and the size. And look! I made the foam pink! Let’s try the lasercutter again… (but first in cardboard because I’m extra paranoid now)
It happened again! Good thing I was testing in cardboard
It happened again! Good thing I was testing in cardboard. Shuffled some things around in Corel Draw, try again…
Success!
Success! On to cut the wooden model.
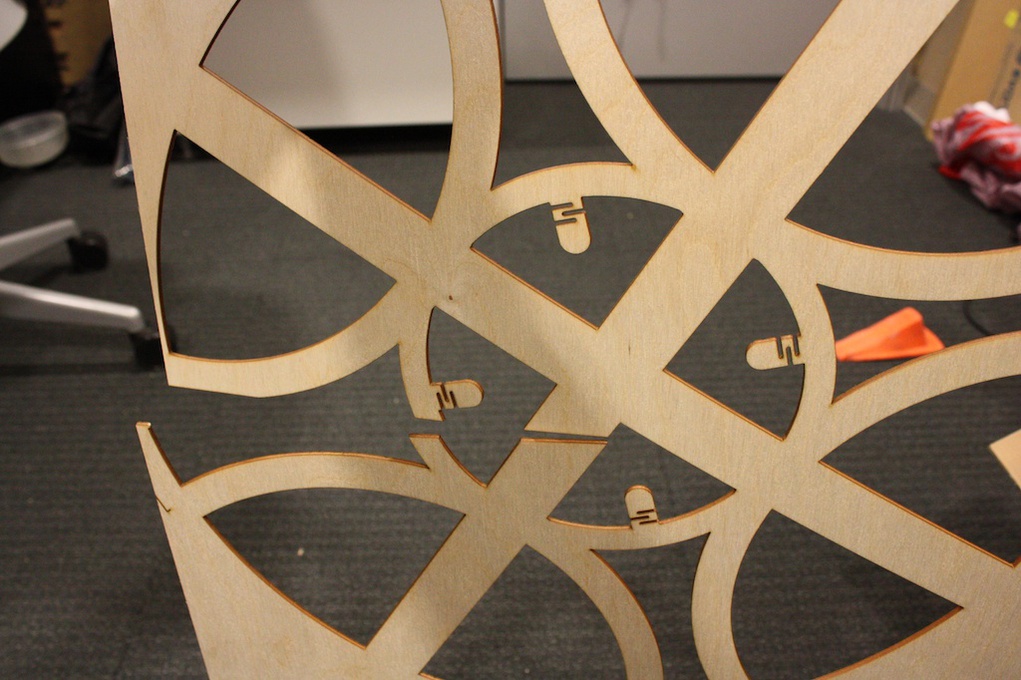
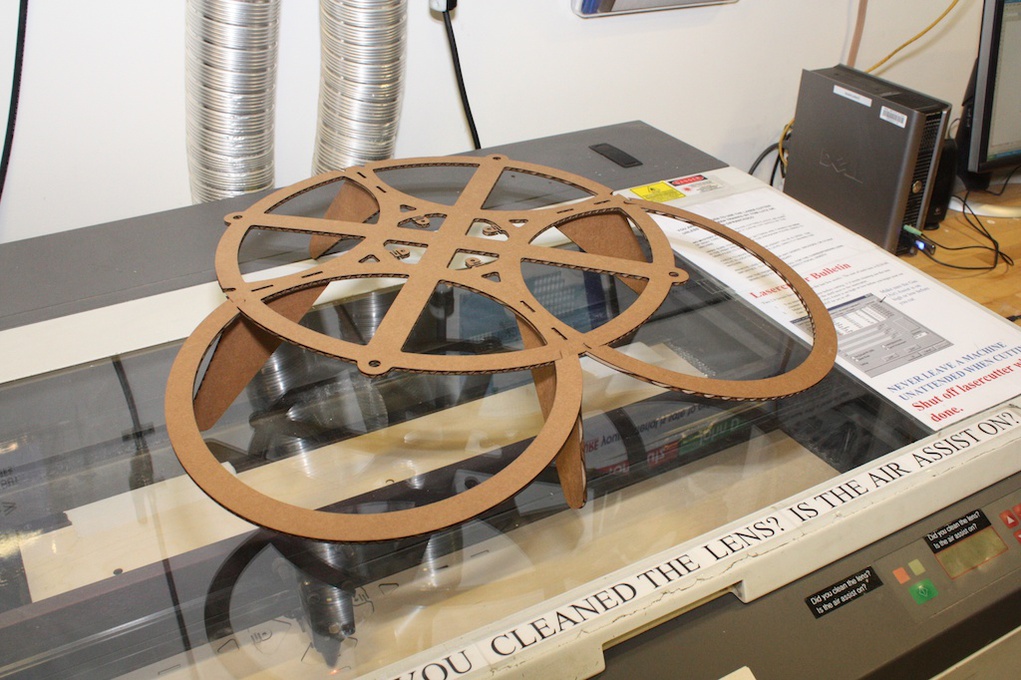
Cutting out the frame.
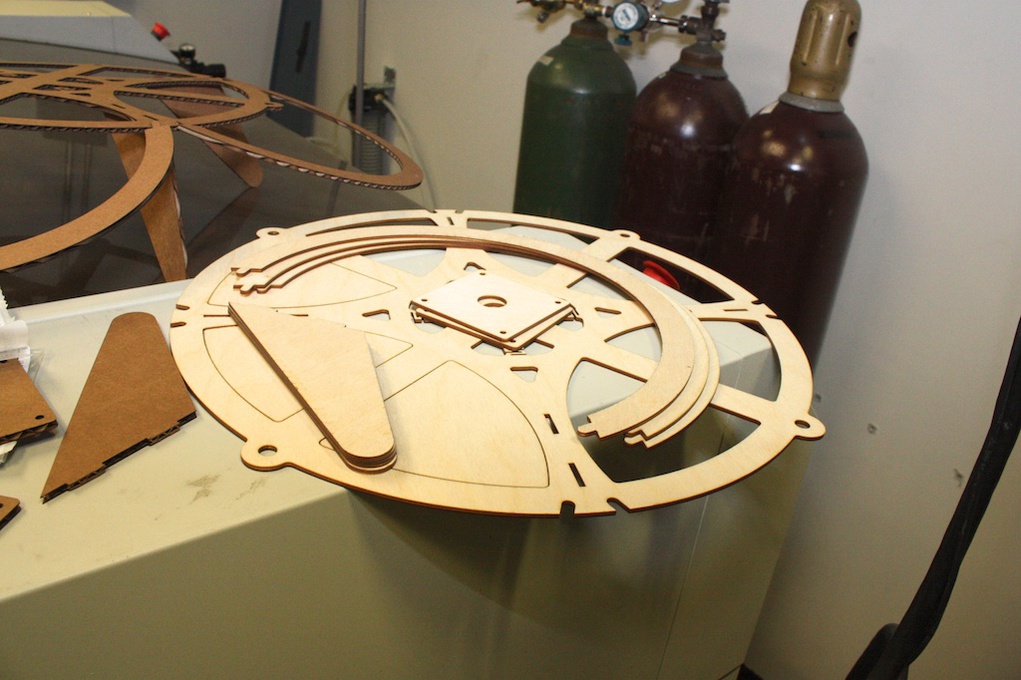
Cut frame parts.
Success! Now, what to do about that foam… I need a really large piece to be aerodynamic (props are 2.5″ above the deck). I’ll try to glue it.
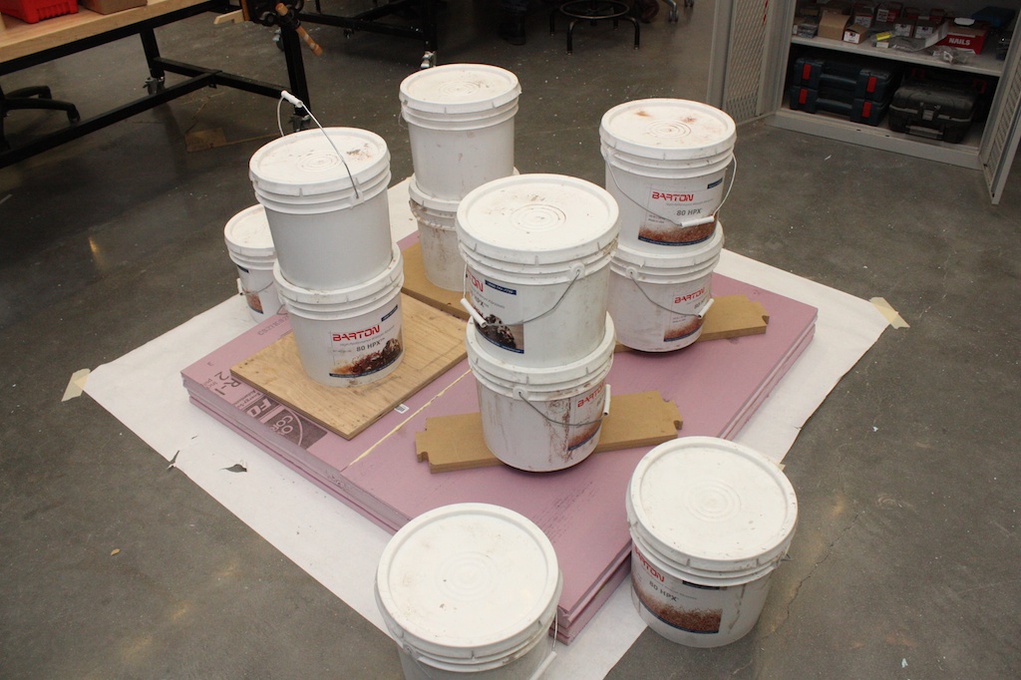
Laminating foam with ~500# of used garnet on it.
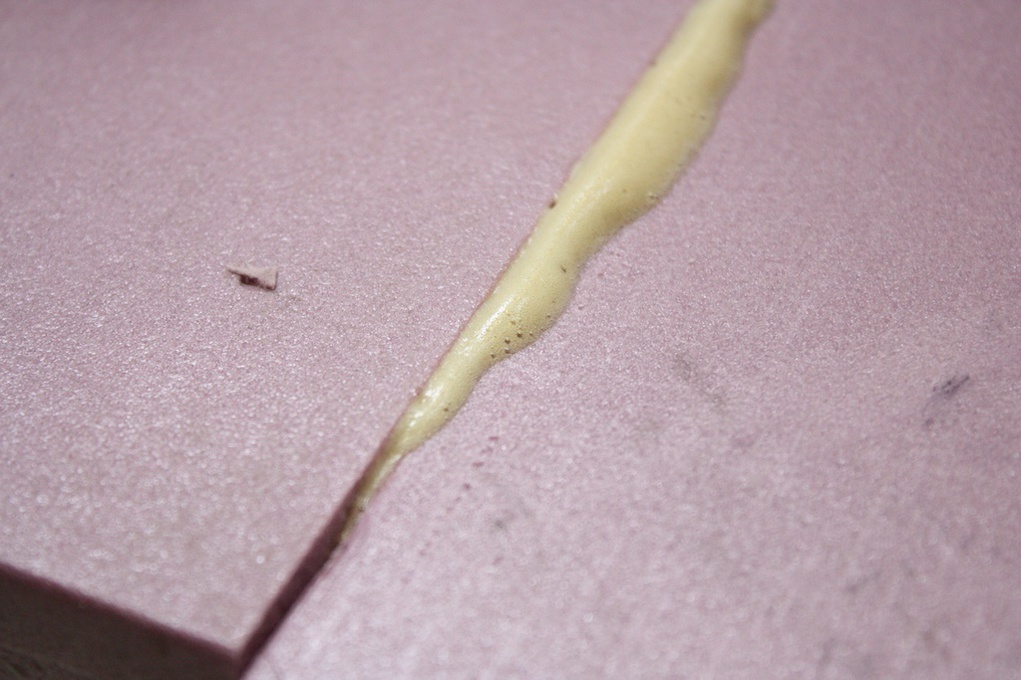
Gorilla glue in action. Get the parts a little wet to jumpstart the cure.
Despite all of that weight, the Gorilla glue still managed to push the foam upwards.
So the Gorilla glue still managed to push apart the two pieces of foam despite ~500# holding it down. Back to the drawing board again!
I’ll cut out half (well a quarter) of the shroud at a time and laminate them together in post.
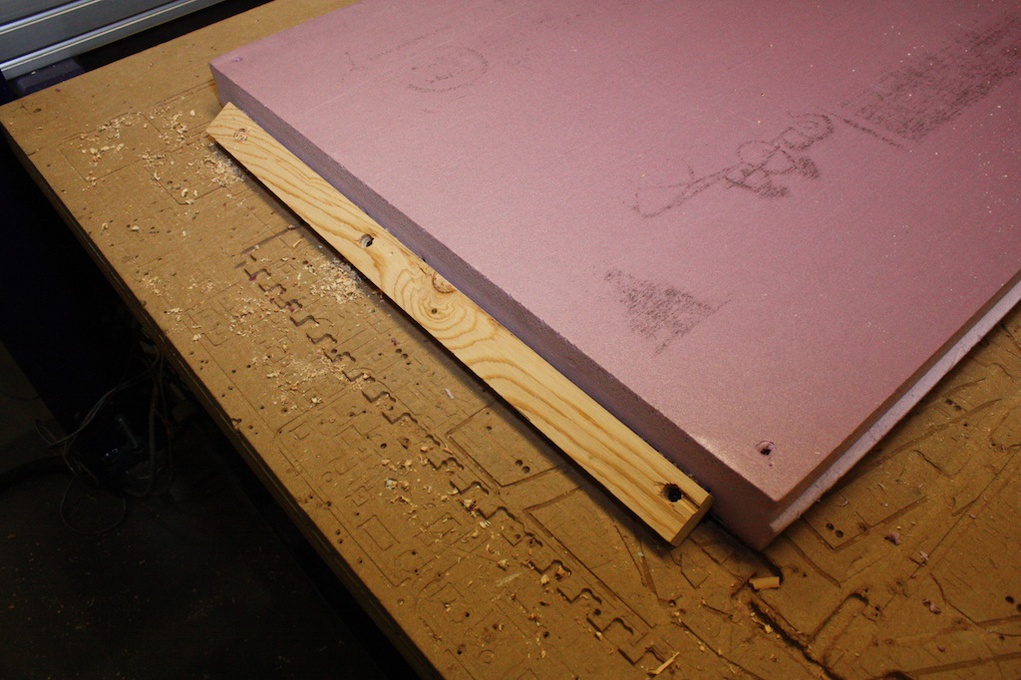
Toe-clamping the foam to the bed – much more secure than screws.
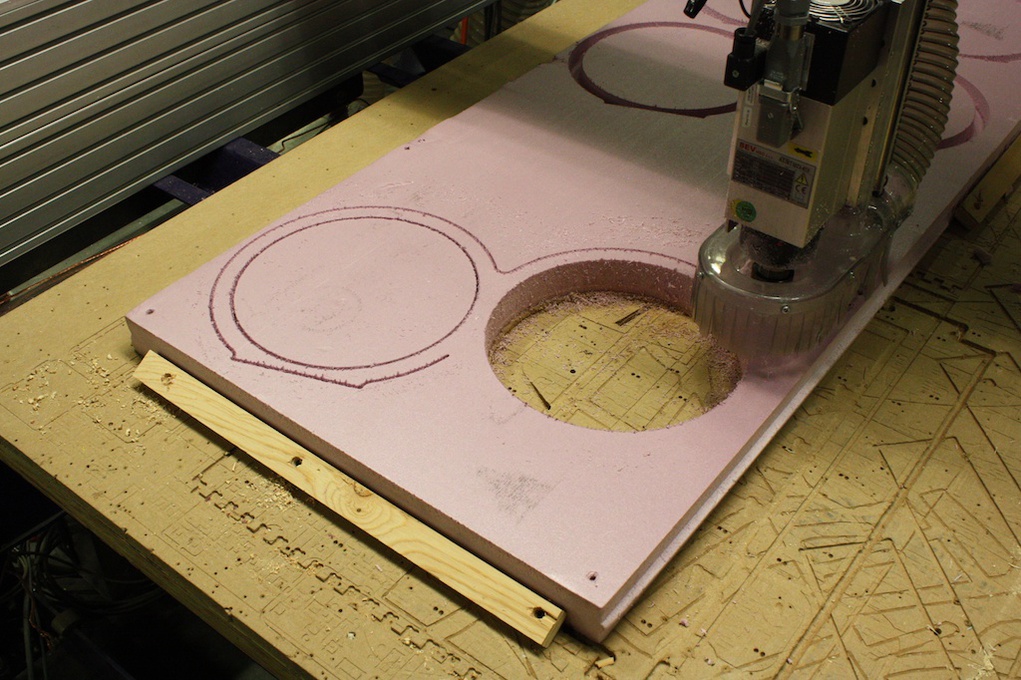
Shopbot cutting out pink foam.
Shopbot cutting out pink foam. I used a 1/8 two flute 3″ long endmill, climb cutting at ~15K RPM and around 100 inches per min. That was probably far too slow, but I was going for a good surface finish, which I didn’t quite get
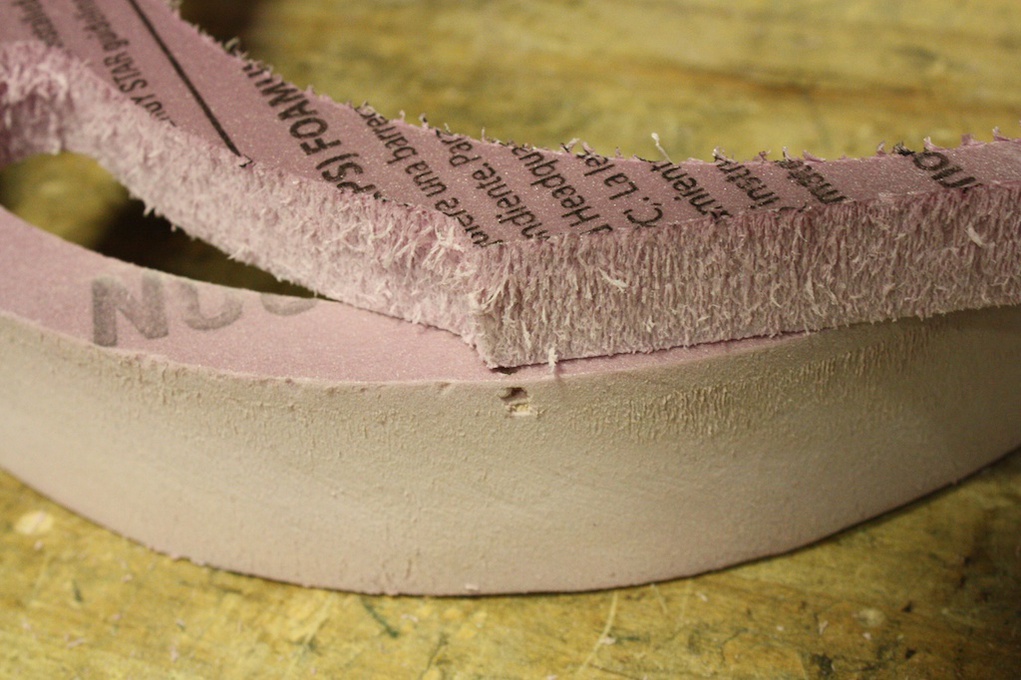
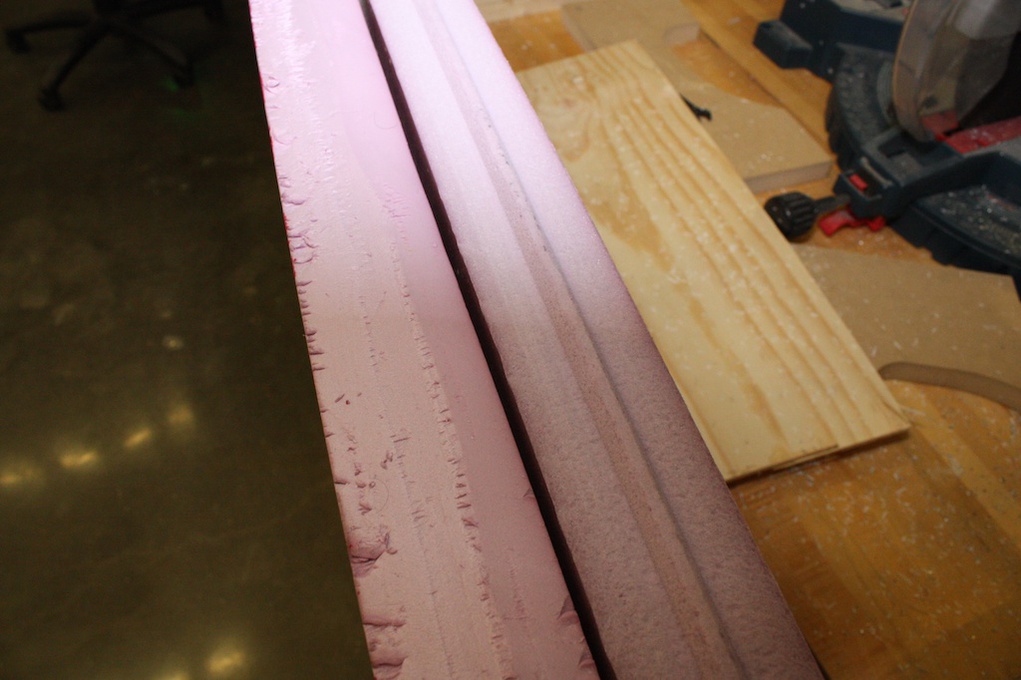
Foam before and after sanding, as you can see, it needed a lot of work.

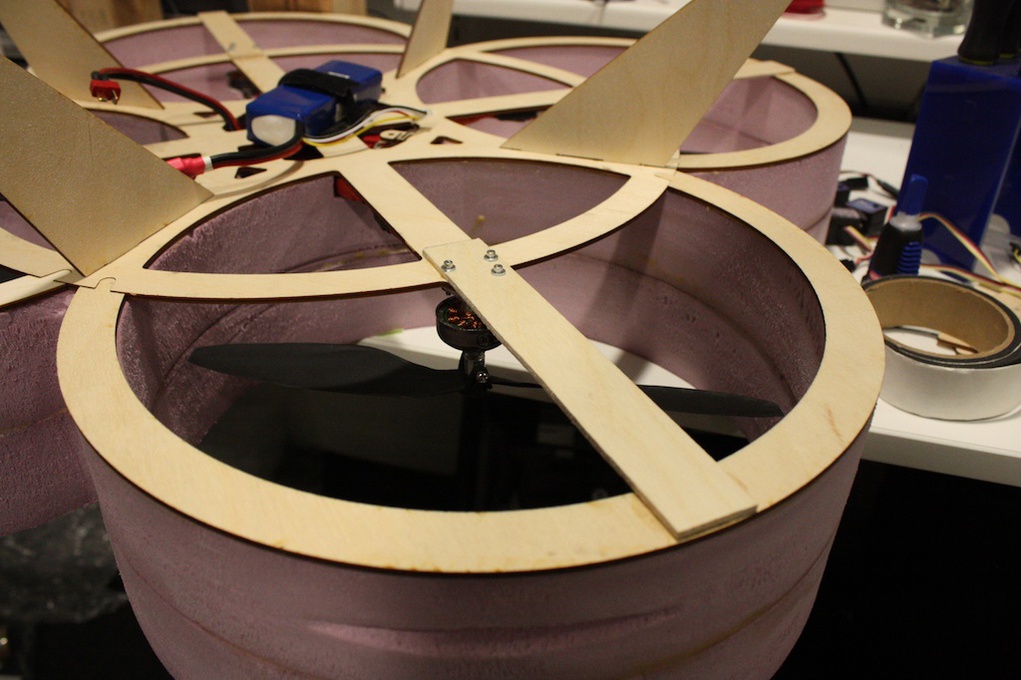
Laminating everything together.
Laminating everything together. I put some of the hardware in, anticipating that it would become difficult to work in the shroud once laminated. I was right, working on this heli is a real pain in the ass.
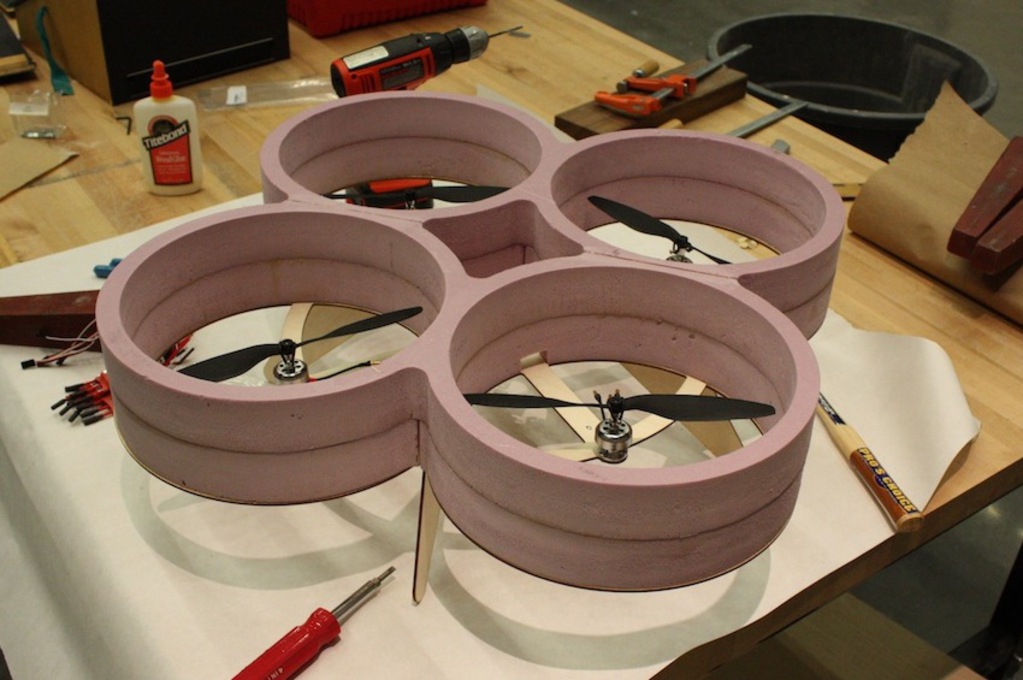
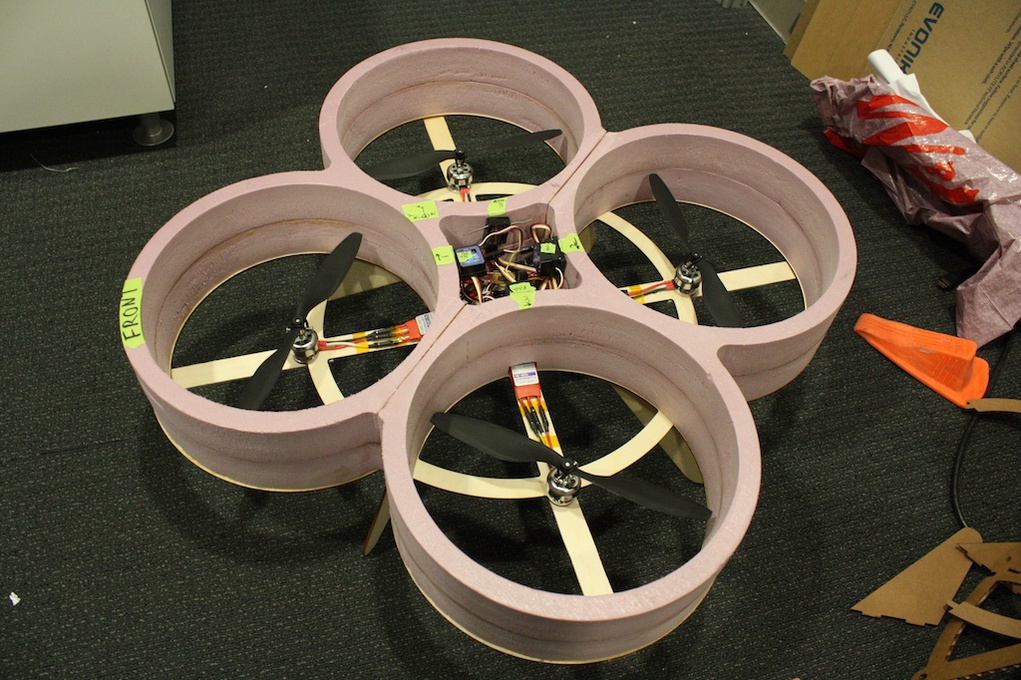
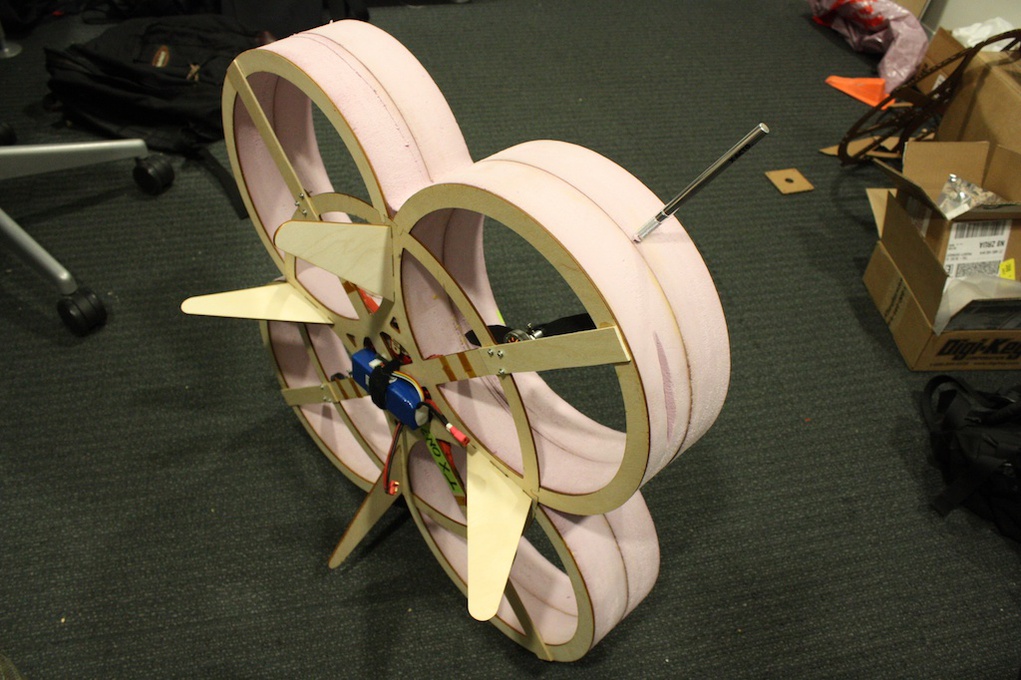
Complete quad minus electronics.
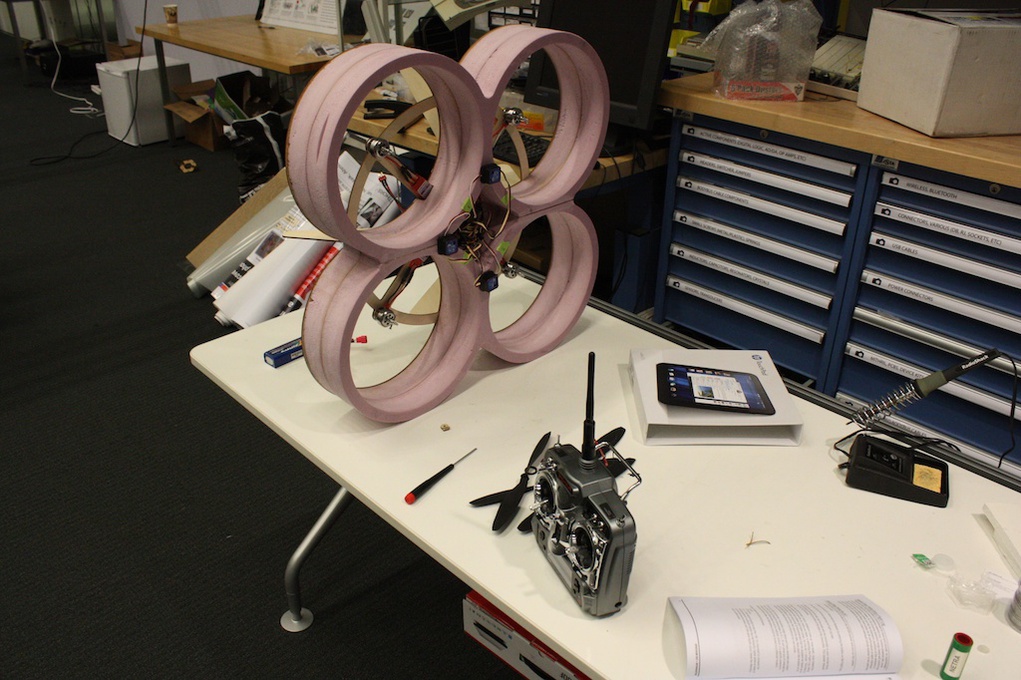
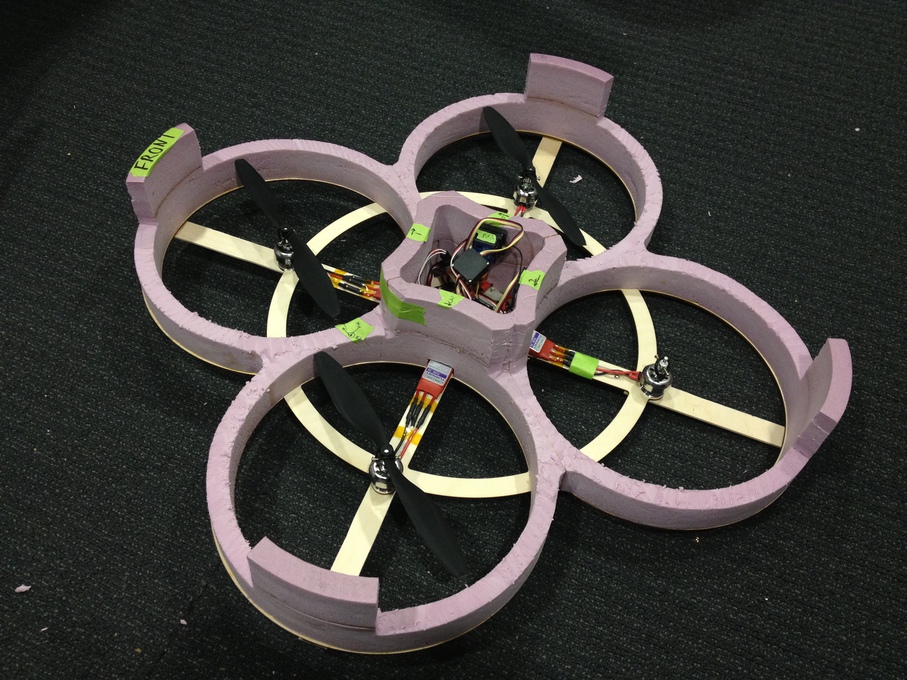
Quadrotor with off the shelf electronics installed, ready for first test flights.
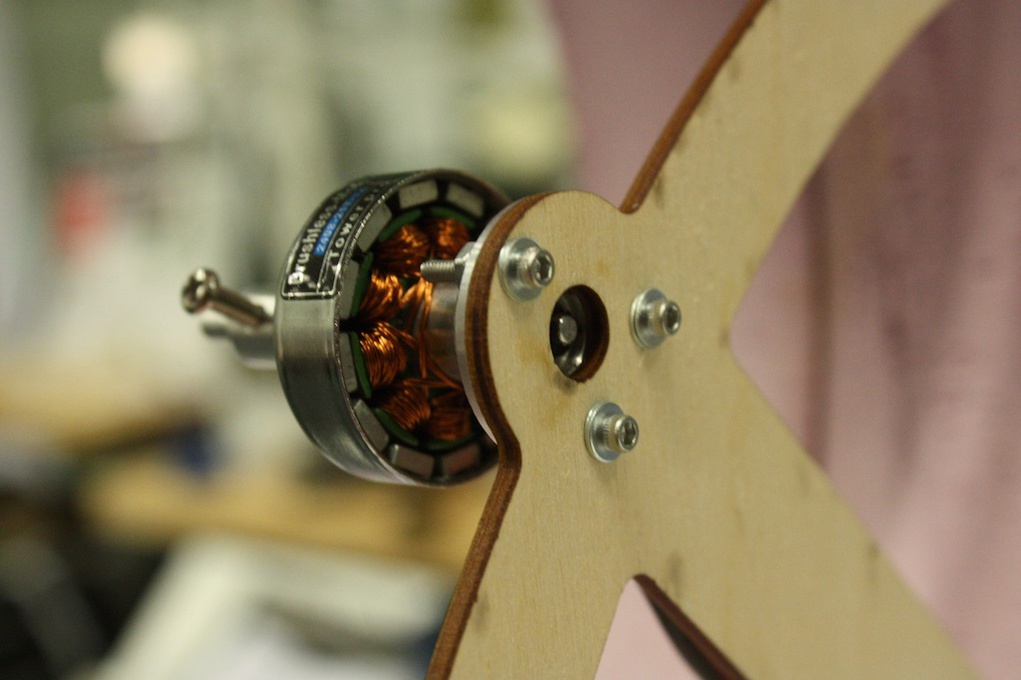
Motor detail.
Electronics mount flexure detail.
Of course there were problems… Some of them required fixing with green retaining compound (that stuff is awesome!). I also added a stiffening strap to try to keep the props from hitting the shroud.
Quadrotor with stiffing straps installed.
Stiffing straps installed.
Then it had to get light
Cutting out some foam.
Then it had to get lighter still
Final cut.
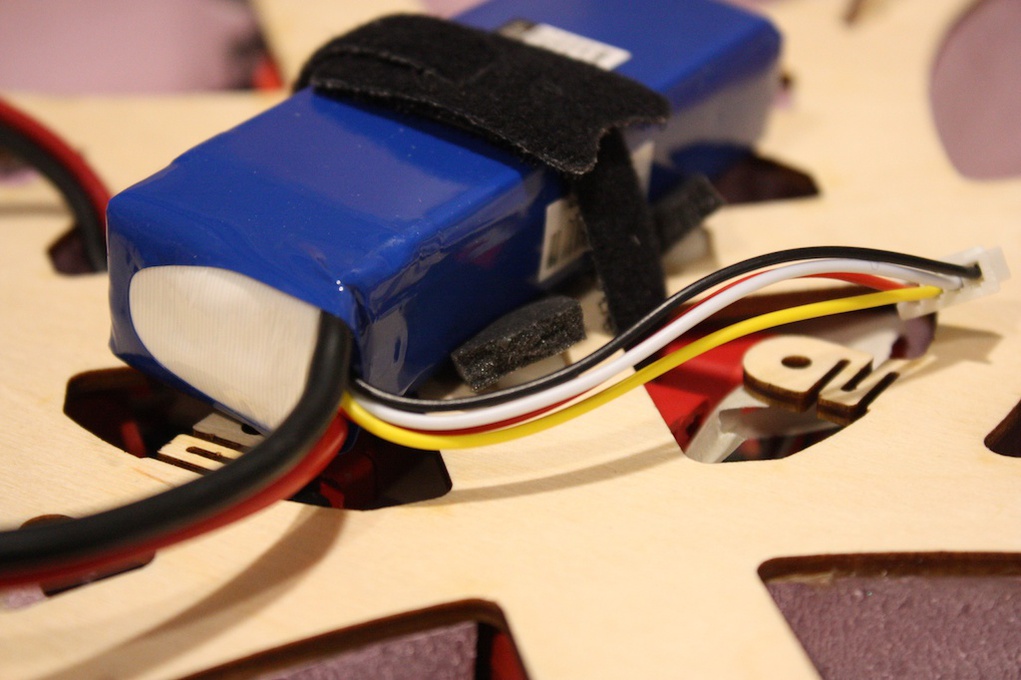
A few flights, then onwards to my own electronics. I aimed to simply replace the radio system. The electronics are still an active work in progress, hopefully I’ll finish it up over IAP.
This is great! Would you happen to still have the CAD\CNC files, and be willing to share?
Files for which design?