
Agilent E3631A Power Supply Accuracy
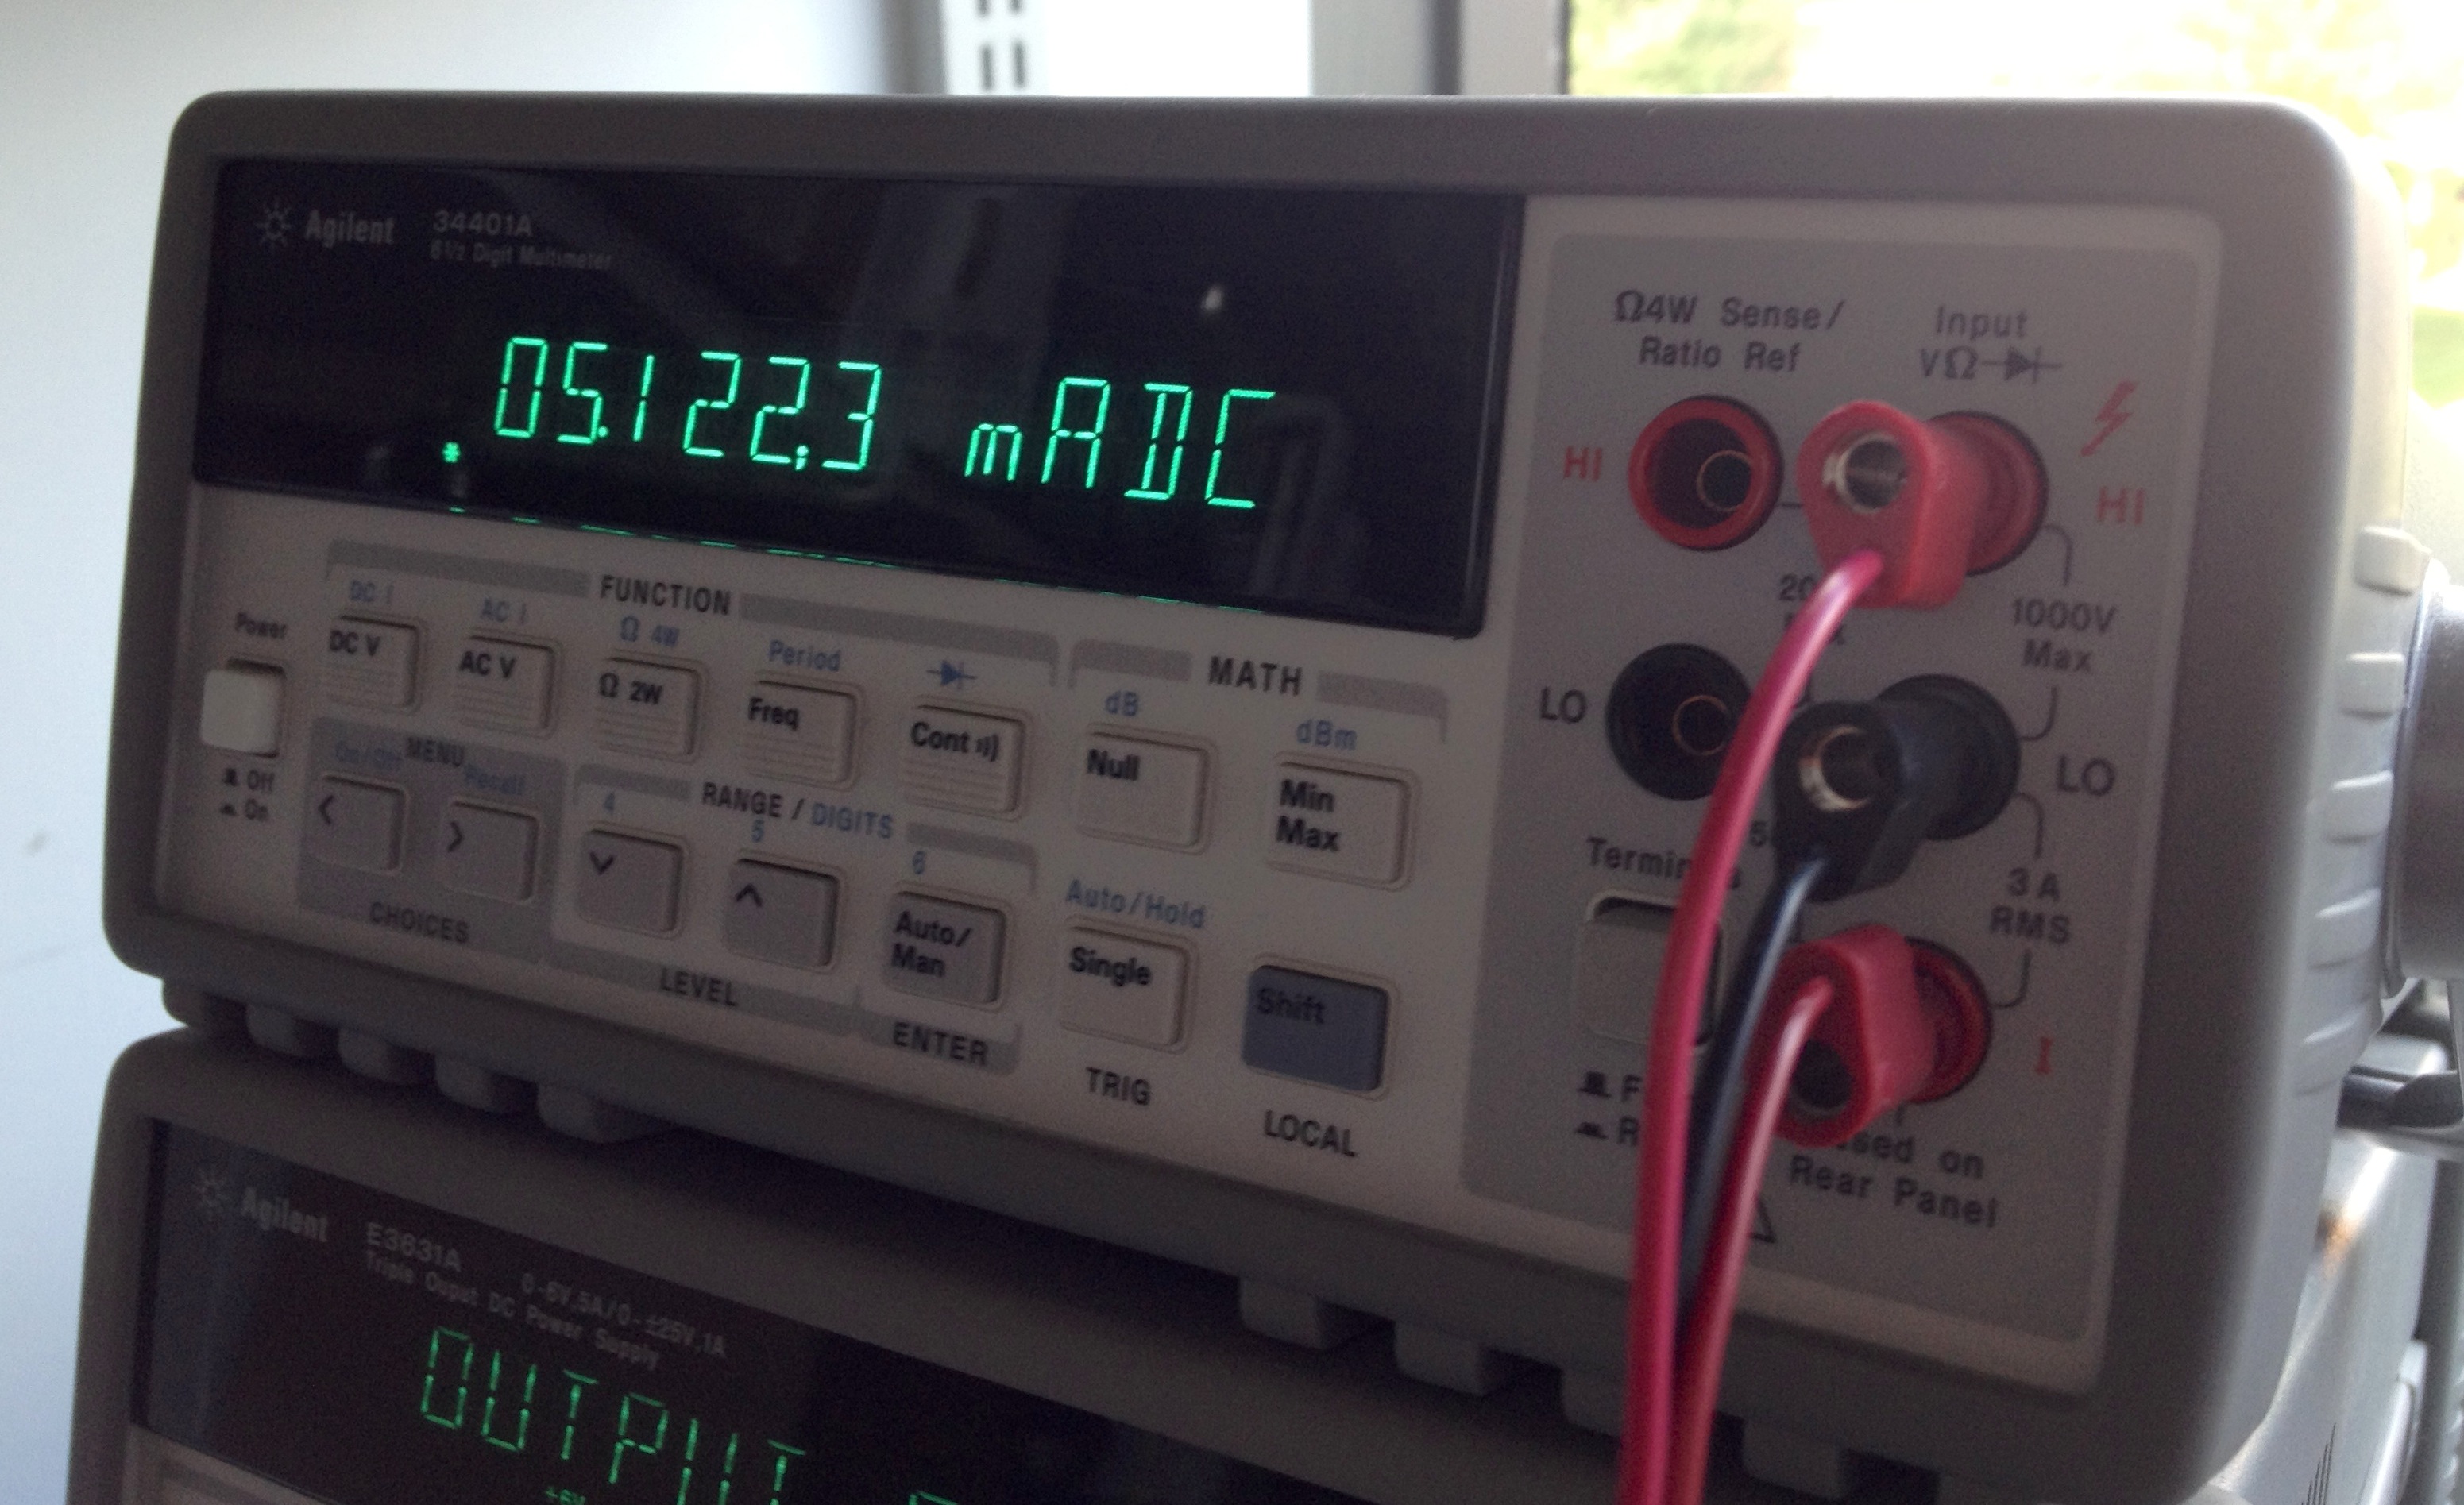
Measuring linearity and accuracy of the E3631A with a 33401A.
During the course of my thesis, the need for distraction – plus the need to save some labor inspired me to develop automated testing methods.
I wrote a little previously about setting up PyVISA on OSX, but didn’t show any real examples of its use. Here, as a proof of concept, I measure the linearity and accuracy of my Agilent E3631A triple output power supply with an Agilent 34401A.
I connect to both of the instruments with a TRENDnet USB to RS-232 Serial Converter based on the Prolific PL-2303 chipset. Just as before, I use National Instruments VISA 5.1.2 for OSX and PyVISA. In the NI-VISA Configuration application, all available VISA compatible adapters are listed. Serial adapters appear as ASRLx and GPIB adapters appear as GPIBx.
Measuring Accuracy and Linearity
In the code sample below, the six volt output of the E3631A is set to some voltage, and its output is measured with the 34401A. The measured and set voltages are stored in a CSV file for later processing.
1 2 3 4 5 6 7 8 9 10 11 12 13 14 15 16 17 18 19 20 21 22 23 24 25 26 27 28 29 30 31 32 33 34 35 36 37 38 39 40 41 42 43 44 45 46 47 48 49 50 51 52 53 54 55 56 57 58 59 60 61 62 63 64 65 66 67 68 69 70 | #!/usr/bin/env arch -i386 python from visa import * import time, csv # CSV open file f = open('out.csv', 'w') writer = csv.writer(f) # Agilent 34401A dmm_addr = 'ASRL1' dmm = SerialInstrument(dmm_addr, baud_rate=9600, data_bits=7, stop_bits=2, parity=even_parity, term_chars=CR+LF, end_input=term_chars_end_input, send_end=True, delay=1) # Set it up for remote access, reset to factory, remote again print "Resetting DMM" dmm.write('SYST:REM') dmm.write('*RST') time.sleep(20) dmm.write('SYST:REM') print dmm_addr + ": " + dmm.ask('*IDN?') # Agilent E3631A pwr_addr = 'ASRL4' pwr = SerialInstrument(pwr_addr, baud_rate=9600, data_bits=7, stop_bits=2, parity=even_parity, term_chars=CR+LF, end_input=term_chars_end_input, send_end=True, delay=1) # Set it up for remote access, reset to factory, remote again print "Resetting Power Supply" pwr.write('SYST:REM') pwr.write('*RST') time.sleep(20) pwr.write('SYST:REM') print pwr_addr + ": " + pwr.ask('*IDN?') # Loop from 0 to 6 volts in 10mV increments cyc times cyc = 15 voltages = [] volt = 0 for cnt in range(600): voltages.append(volt) volt = volt + 0.01 writer.writerow(voltages) for I in range(cyc): tarr = [] for J in range(len(voltages)): setpoint = voltages[J] # Set the power supply to the setpoint pwr.write('APPL P6V, ' + str(setpoint) + '; OUTP ON') # Let the output settle 1 seconds time.sleep(1) # Measure the output meas = dmm.ask('MEAS:VOLT:DC? 10, MAX') tarr.append(meas) # Tell the user what's up print("Cycle: " + str(I) + " set:" + str(setpoint) + "V meas:" + str(meas) + "V") # Turn off the output pwr.write('OUTP OFF') # Write tarr to the file writer.writerow(tarr) # Close the file f.close() |
There are a few notes about the above snippet. In the beginning of the script, each interface is set-up (lines 11, 12, 25, 26). Then each instrument is reset (lines 18, 19, 32, 33) and set in remote mode (lines 21, 25).
To generate the list of voltages to cycle through, I use a for loop (lines 43-45) because the NumPy on my machine was only compiled for 64-bit Pythons.
Other interesting snippets are those which set the output voltage of the power supply (line 54). In this line, the positive 6V rail (P6V) is set to its setpoint, and the output is turned on (OUTP ON). The DMM is then used in its 10V range to measure the voltage (line 58).
Plotting the Results
After letting the above script run overnight, a fat .CSV file is generated. With the following script, the results of the test are plotted.
1 2 3 4 5 6 7 8 9 10 11 12 13 14 15 16 17 18 19 20 21 22 23 24 25 26 27 28 29 30 31 32 33 34 35 36 37 38 39 40 41 42 | #!/usr/bin/python import csv from pylab import * f = open('out.csv', 'r') reader = csv.reader(f) cols = zip(*reader) # transpose reader so it's columnwise # Measured data, set voltage, tolarance array (according to the datasheet) data = []; setv = []; tol = [] # Every 100mV for col in cols[::10]: # Build the set voltage array setv.append(float(col[0])) # Build the tolarance voltage array tol.append(float(col[0])*0.001+0.005) # Build the linearity array data.append(map(lambda x: float(x) - float(col[0]), col[1:])) # Close the CSV file f.close() # Figure and axis fig = figure() ax = fig.add_subplot(111) ax.boxplot(data) # Titles and labels ax.set_title("Agilent E3631A P6V Linearity") ax.set_xlabel("Set Voltage (volts)") ax.set_ylabel("Deviation from Set Voltage (volts)") # Show every 500mV on the axis axlab = map(lambda x: x if x % 0.5 == 0 else "" ,setv) ax.set_xticklabels(axlab, rotation = 45) ax.fill_between(range(1,len(tol)+1), tol, tol*(-1*ones(len(tol))), facecolor='yellow', alpha='0.25') # Display the figure show() |
Results and Discussion

Accuracy and linearity of the E3631A measured with the 34401A DMM.
Despite both the Agilent 34401A and the E3631A being both over ten years old – and over ten years since their last calibration – assuming the 34401A is still within its calibration specifications, the E3631A is still operating within its factory tolerances (indicated by the yellow trapezoid).
The error bars indicate upper and lower quartiles, and the red bar indicates the average reading. Outliers are denoted by a “+”. The power supply was cycled overnight, 15 times per set voltage. The manufacturer specifications are denoted by the yellow trapezoid. The average readings all fall within the manufacturer specifications.
There appears to be some latent structure in the deviation from the set voltage with may indicate range switching or some other mechanism within the power supply. Still with a maximum deviation from the set point no greater than 10mV, the instrument is quite accurate.
Hi,
I just have a curiosity question on the E3631A program for Measuring Accuracy and Linearity, is it imperative that after setting to a power source PV6 to a set point it has to be turnoff; PV6 set point; turned on? Is it possible to do the change of voltage from xV to yV can be done without needing to turn off / turn on??
I think so – if you use the IMMediate keyword it should update without turning on and off. See the manual for further explanation.