FabISPkey
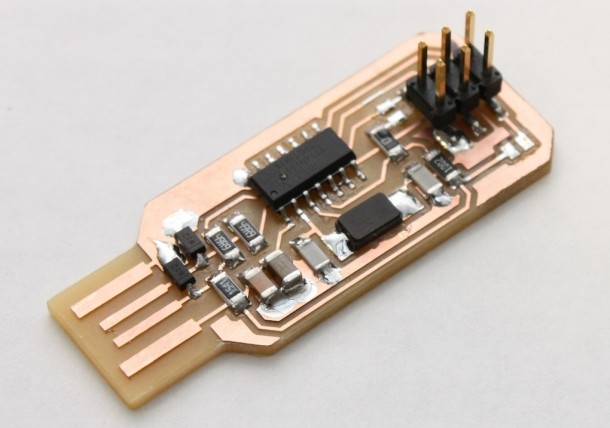
This semester, I’ve been fortunate enough to take Neil Gershenfeld’s How to Make (Almost) Anything. For one of the first assignments, we’ve been tasked with fabbing (routing on the modella and stuffing) Neil’s FabISP which is based on David Mellis’s FabISP which is based on Limor’s USBTinyISP which is based on Dick Streefland’s USBTiny.
I decided I could make a few tweaks to the design, electrically and mechanically. First, I tried out my mechanical modifications before I dove too deeply into electrical modification. First , I redrew David’s schematic in EagleCAD. I replaced the USB connector with a board edge USB connector from the SparkFun library. I also replaced the crystal with one that I had on hand, which ended up being a mistake because I decided to use the one in the Fab inventory, which is smaller.
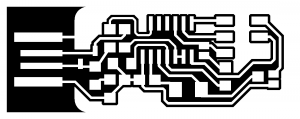
One thing to note, I use a ground pour, because I figure if I’m going to have extra copper on my board, I’d like to know what it’s connected to. As a whole, my design is smaller then both Neil’s and David’s and dispenses with the USB connector.
 |
 |
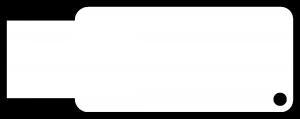
If you’d like to play along at home, you can grab fabbable PNGs above and you can get the design files with a simple git checkout
git clone git://git.bardagjy.com/fabisp
Since my design is electrically similar to Neil and David’s, programming is very similar. Solder the reset jumper (the one closest to the processor), power the board (using a USB port, or USB charger), program it with another programmer (make hex, make fuse, make program), unplug and desolder the jumper.
The board is a little thin, it might require a small shim (0.010″) underneath the connector to feel solid in your USB port.


Wow, that is a beautiful board. Great photo. Can’t put my finger on why but that is just a great looking board. It is clean! Did you hand solder this? Did you clean the board? If so, how?
Nice work.
-Shane
Thanks! It’s a piece of FR1 (phenolic) with maybe 1/2 oz copper on one side. I milled the traces with a 1/64 in square endmill using a Modela MDX-20.
Just before soldering, I then use a piece of scotchbrite, actually a Norton Bear-Tex 635 pad, to gently scrub off the oxidation and remove burrs.
I used a Weller WTCPT to solder this with Indium wire solder, .020″, Sn63 Pb37 with CW-807 flux core. I used Chemtronix Circuitworks CW8100 liquid flux. I then used 99% or better isopropyl alcohol to clean the boards with a Kimwipe.
I’m now using a JBC station (soo sooo sexy) and Indium SAC305 (lead free) with CW-807 flux core. I’m still mostly using isopropyl, but sometimes I also use Chemtronix Flux-Off.
I’ve been meaning to build or buy an ultrasonic cleaner for some time, but the boards I want to wash are rather large (1.5 feet on each side) and I haven’t been able to find one that is big enough. And.. I don’t really wanna keep something like that around my apartment.
I’ve moved the project to github https://github.com/abardagjy/fabisp
Saw this project ilustrating OpenFL and PCB etching masks with Form1+
https://formlabs.ib-caddy.com/assets/technical_data_sheet/Formlabs_OpenFL.pdf
Did u do this for real, and if u did did you share the software u used for it? or are they just using the photo for ilustration pourposes?